
For most Python projects, the same foundational tools can speed up development of your project and remove inefficiencies. This article goes over some of my favourite tools for creating the perfect project.
At the end of this article, I’ve collected all the installations, commands and edits in one so you can easily set up everything mentioned in this article.
Foundations
These are the key elements of a project that we will expand on:
- Meaningful directory structure to separate the code, documentation and configuration files
- Version control using Git
- Continuous Integration
- Linters, formatting and organisation of code
- Automated testing and type checking
- Automated Documentation
Directory Structure
As talked about in this previous post, Poetry is a popular tool for managing your dependencies and makes starting a new project very easy.
poetry new <project> is the command used in Poetry to create a new project directory named <project>.
📦project
┣ 📂project
┃ ┗ 📜__init__.py
┣ 📂tests
┃ ┣ 📜__init__.py
┃ ┗ 📜test_project.py
┣ 📜README.rst
┗ 📜pyproject.toml
Poetry sets up a new project with the project-specific code separate to test code and the configuration in the pyproject.toml file. Basic information such as the name of the project, version and description is kept in this file with the python dependency packages and developer dependencies clearly defined.
Documentation can be added to the README.rst file, however I prefer to change this to a markdown file. Later on we’ll look at using other tools for automated documentation, particularly when creating code references.
Version Control – Git
When using Git for version control, you’ll want to ensure you’re using the .gitignore file to prevent committing files that don’t need to be tracked, such as secrets or data. There are templates provided on Github and here is the Python specific version.
If you’re using Mac, you may need to add .DS_Store, which are auto-generated system configuration files, which you’ll want to ignore.
For a personal project, you might not care too much about branching strategies or rules around committing code, but it is best practise to follow some strategy as you may want to work on open source projects or allow others to contribute to your project. Committing straight to the main branch is acceptable for a solo project but you may want to consider other strategies.
Feature branching is a good way of keeping track of what you are changing through descriptive naming and allows for some experimenting before merging into the main branch.
Automation – Pre-commit Hooks
Pre-commit is a must have tool if you want to ensure all checks and tests are run on your code before being able to commit it to version control. Pre-commit gives you the chance to fix errors and automatically runs fixes on code, such as formatting issues, before the code is committed.
Therefore, regardless of the language used (Python, YAML, JSON..) you can be sure that the human errors are handled proactively. There is a list of already written pre-commit hooks available here and you can even configure your own.
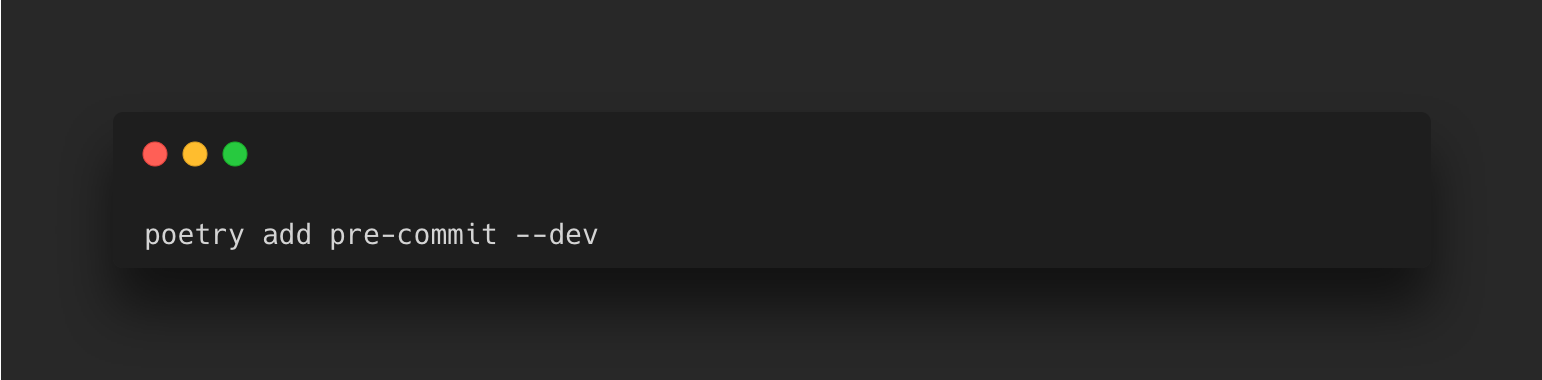
To install pre-commit, you can use pip, Poetry or Homebrew if you’re on Mac. With Poetry, you can run
Throughout the article I have added instructions on adding tools covered to your pre-commit hook configuration file. This is a file you will need to initially create called .pre-commit-config.yaml in the room directory of your project.
Continuous Integration – Github Actions
GithHub Actions is a CI/CD automation tool that makes it easy to build, test and deploy your code. Workflows will take new pull requests (or other configured events) and test the changes within a virtual machine and can be triggered when an event occurs in your repository. A workflow is a configurable process that will run jobs and are defined in a YAML file. Below is an example workflow stored in the .github/workflows directory:
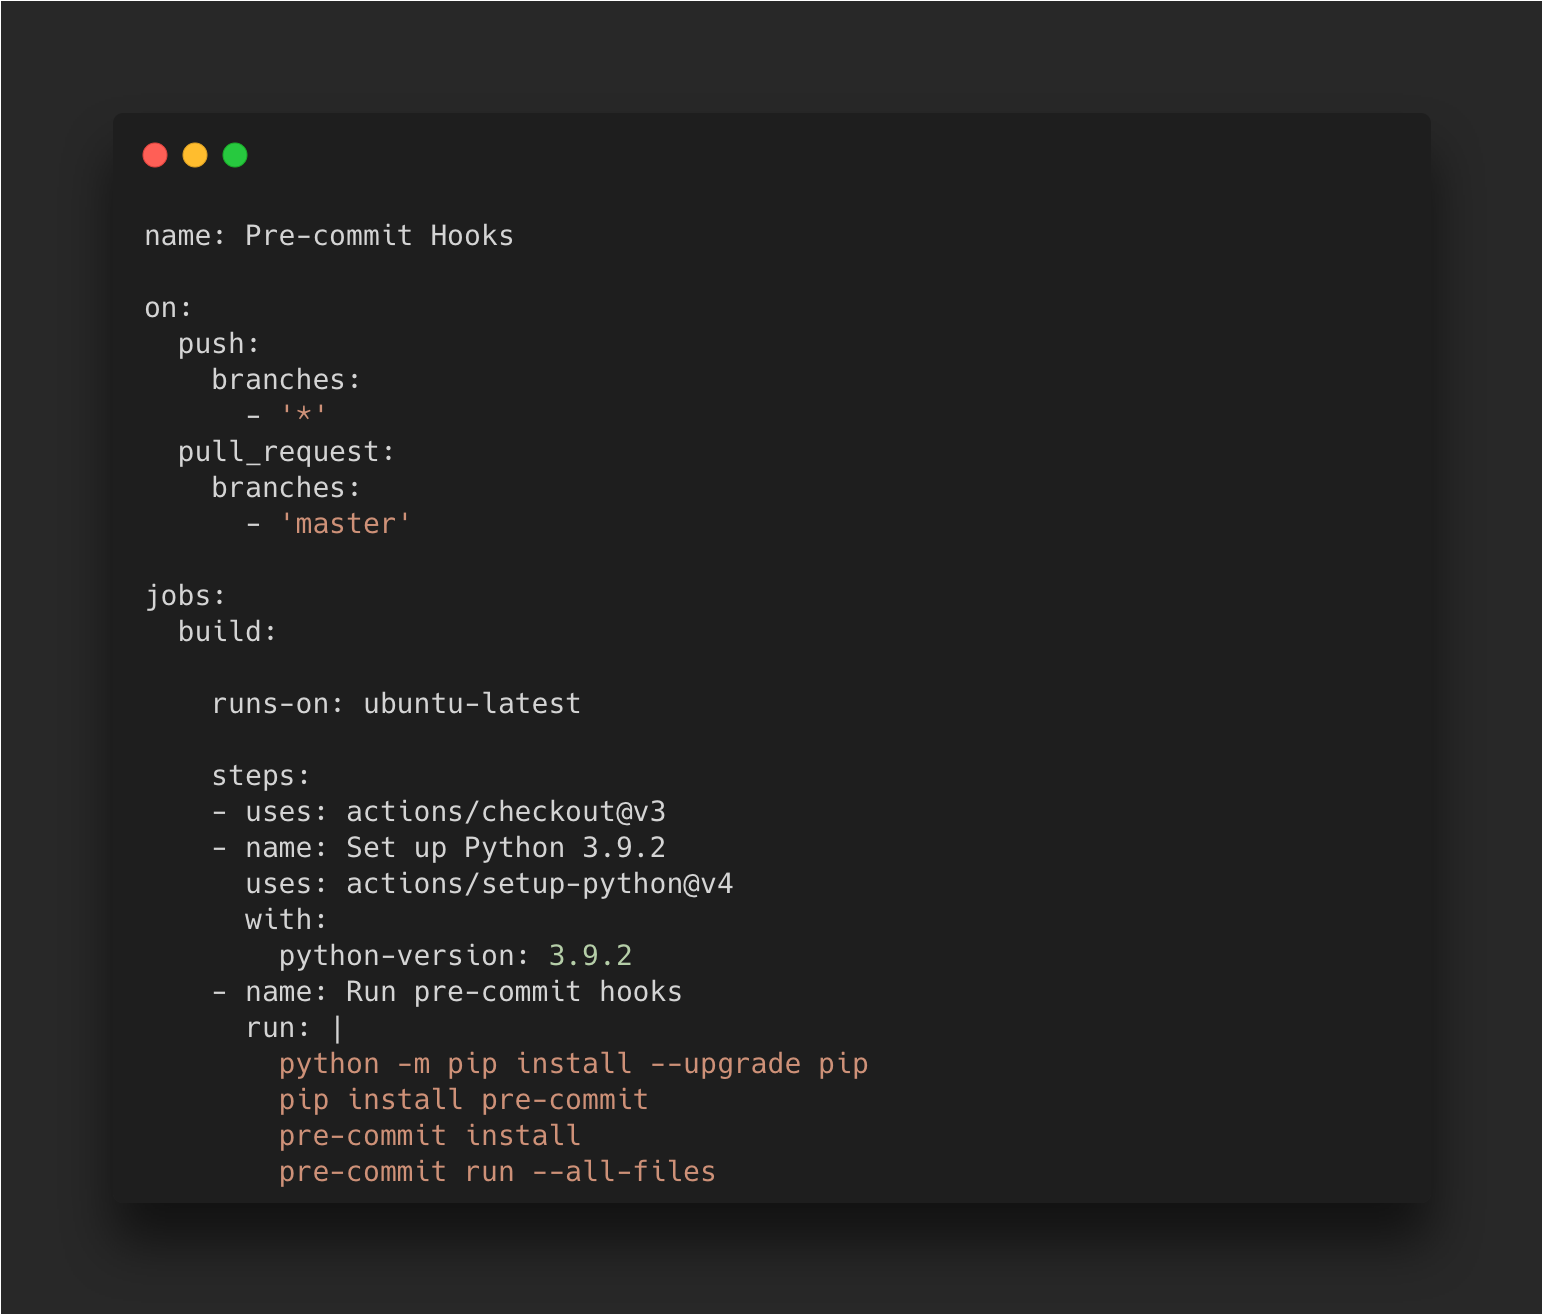
It defines the action Pre-commit Hooks that will get triggered after a push or pull event occurs, which spins up an Ubuntu server with Python 3.9.2 and then runs the pre-commit hooks on all files.
Linters – Flake8
Linters work well with your IDE to catch bugs and errors and flag badly written code at the time of writing. Flake8 is a popular linter that enforces PEP8 (Python Enhancement Proposal 8) which will automatically check for code layout, blank lines, whitespace usage and make many other recommendations.
My choice of IDE is VS Code as I really like the ease of adding extensions and the general look of it, and getting Flake8 on it is very easy. Opening up the command palette and searching for ‘linter’ will show the option to select the linter of your choice, which should be automatically picked up by your virtual environment if you’re already in one to install it into. You can also manually add it as a development dependency using:

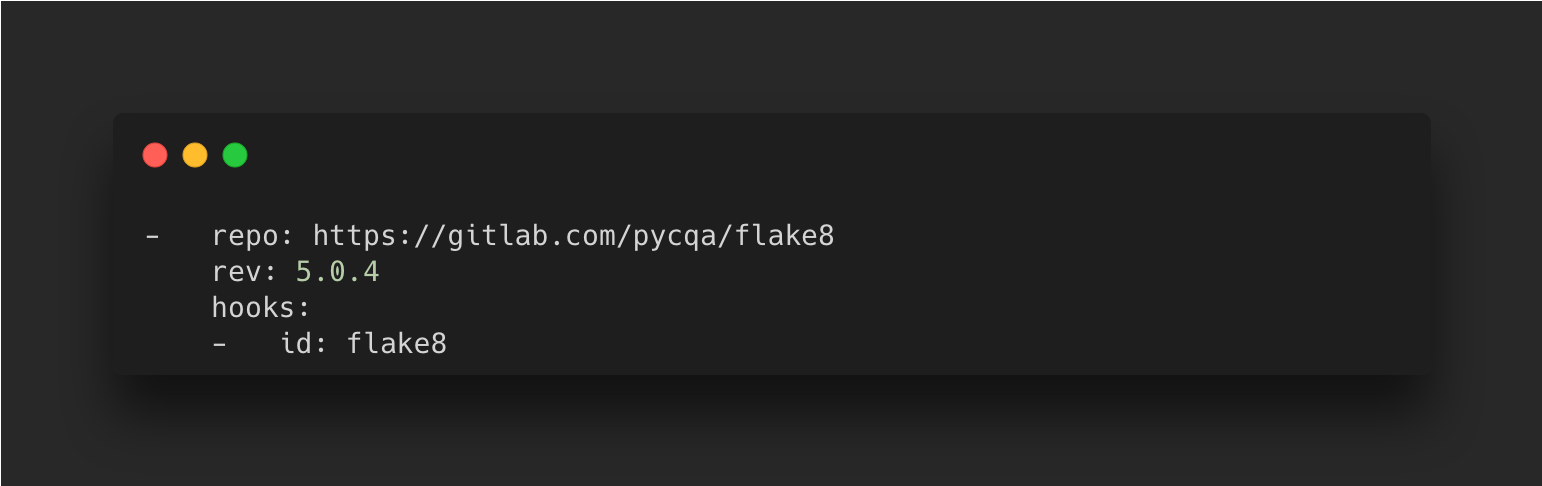
As part of pre-commit hooks, flake8 can be added to automatically check before committing by adding the following to the .pre-commit-config.yaml file:
Ensure that whatever version is specified here is the same as used in the project as shown in the pyproject.toml file.
Formatting – Black
Over the years there has been debate about following some of the PEP8 guidelines, in particular when it comes to the maximum number of characters per line. Since Python started in the early 90’s, monitors were small and the guideline of 79 characters came about from the old UNIX terminal designs. Over the years, monitor sizes grew so it didn’t look right to limit the line length all the time, but issues came about when looking at the same code on different sized screens.
My favourite formatter for Python code is Black, which keeps my code consistent across all my projects but doesn’t follow the 79 character length limit as it aims for generality, consistency and readability.
Within VS Code, you can select Black as the formatter by searching for ‘Format’ in the command palette or can be manually installed using Poetry:

If you’re using Flake8 with Black on pre-commit hooks, you’ll encounter issues as Flake8 will highlight the 79 character line limit. To get around this, you can specify the line length you want to use in the pyproject.toml file under the Black tool settings. You can also set rulers in VS Code by opening the settings.json file by searching for ‘settings’ in the command palette and adding the following:
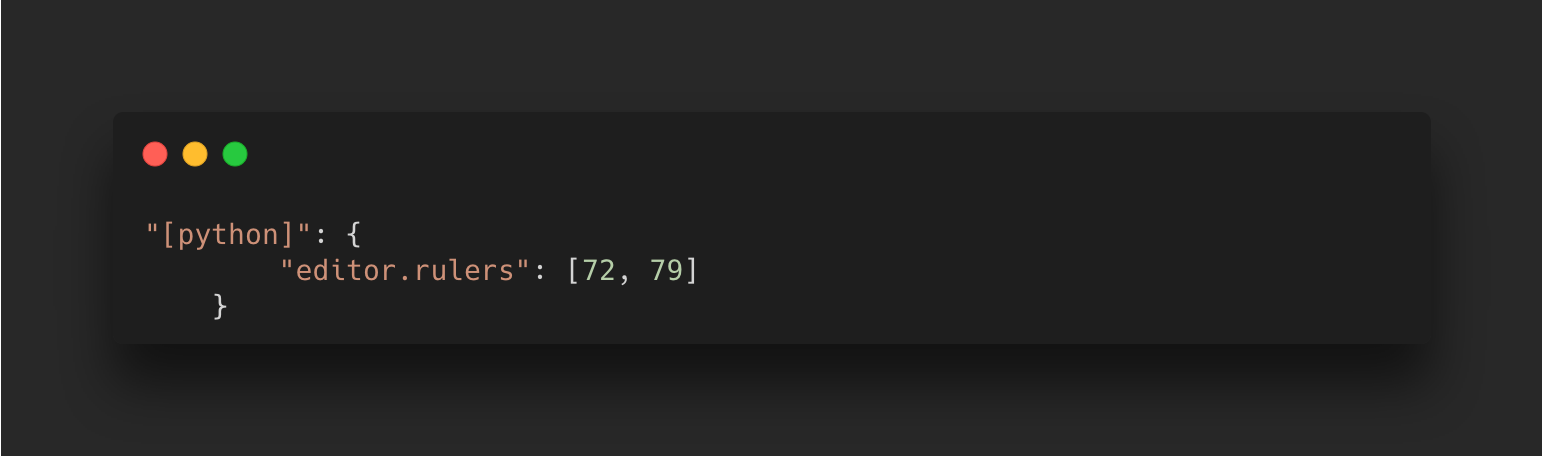
As per the guidelines, the ruler as 72 characters is for any comments or in-code documentation, and the 79 limit is for code.
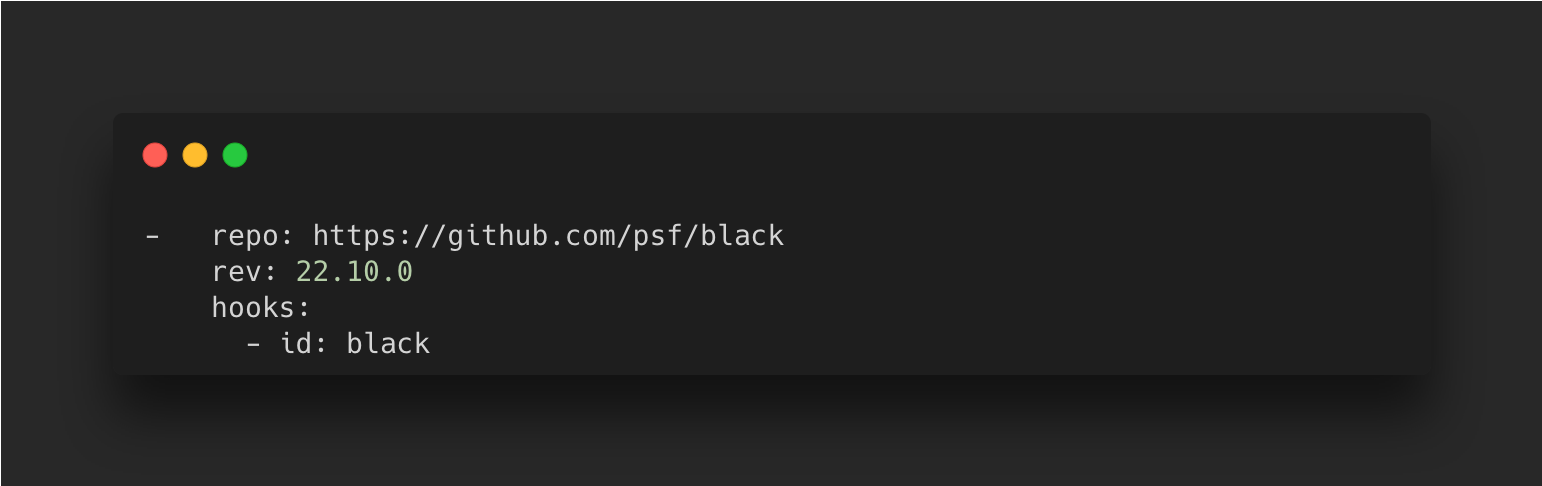
Black can be added to pre-commit hooks by adding the following to the .pre-commit-config.yaml file:
Code Organisation – Isort
Everyone who codes in Python is probably used to keeping their imports at the top of their scripts for maximum visibility, but most don’t care about their order. In fact, PEP8 mentions that imports should be sorted in a particular way. The order starts with standard library imports, then third party imports and finally any local imports.
Isort is the tool that will automatically sort out your imports with proper spacing between them.
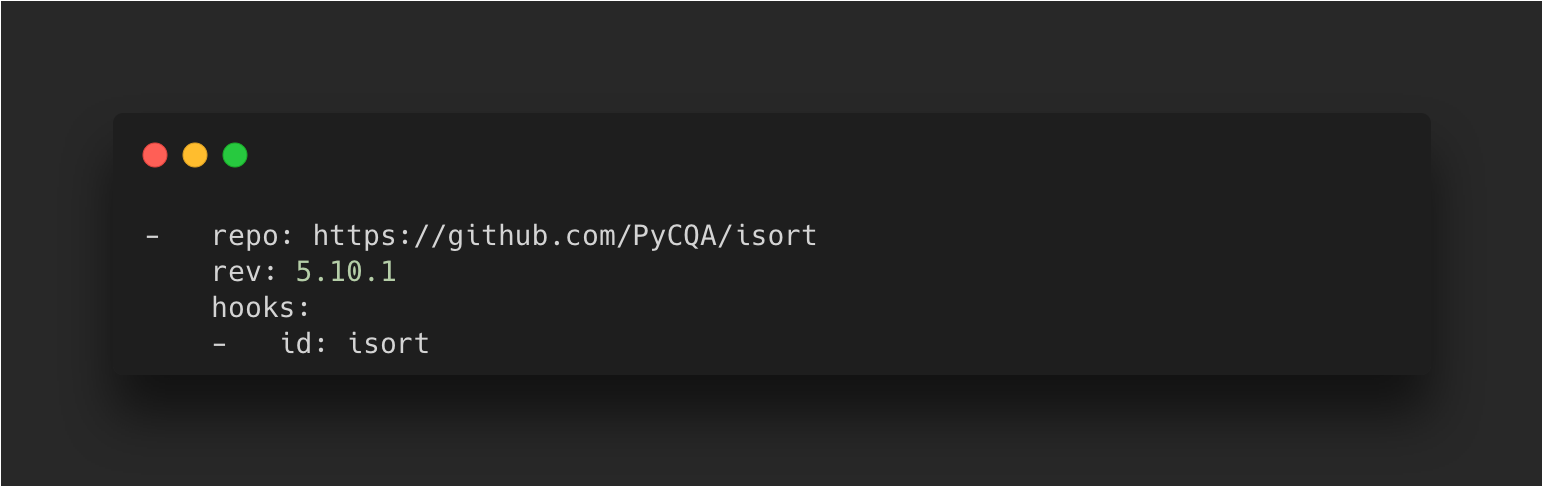
It is included in the VS Code Python extension, so can be used in pre-commit hooks by adding the following to your .pre-commit-config.yaml file:
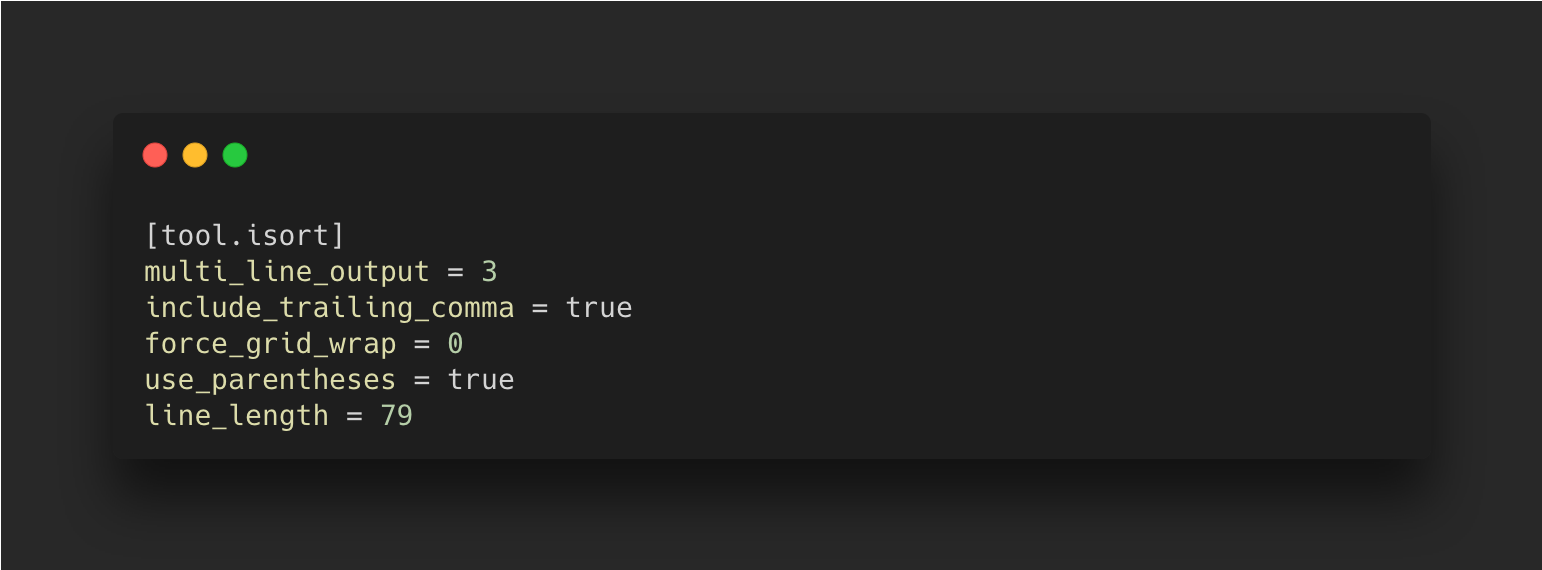
In addition, edit the tool’s settings in the pyproject.toml file to ensure it is compatible with Black
To manually install it, you can use Poetry too

Type Checking – Mypy
Mypy is a static code analysis tool that ensures code is type safe. With type hints, you get better automated documentation and improved architecture as you’re forced to think about the types while coding. Initially a Python variant itself, mypy gained the attention of Python creator Guido van Rossum and it was rewritten to use annotations instead.
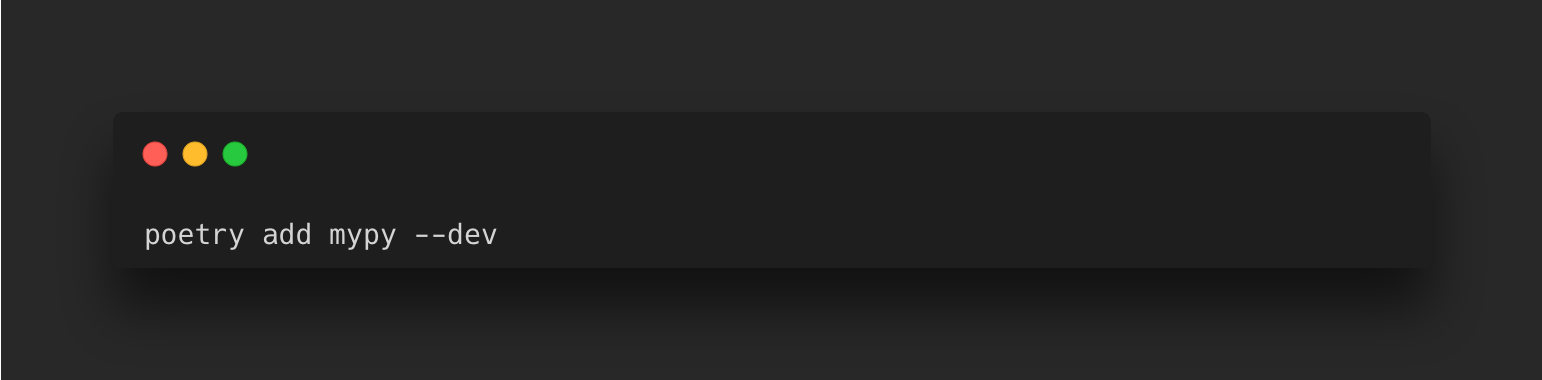
You can install it using Poetry by running:
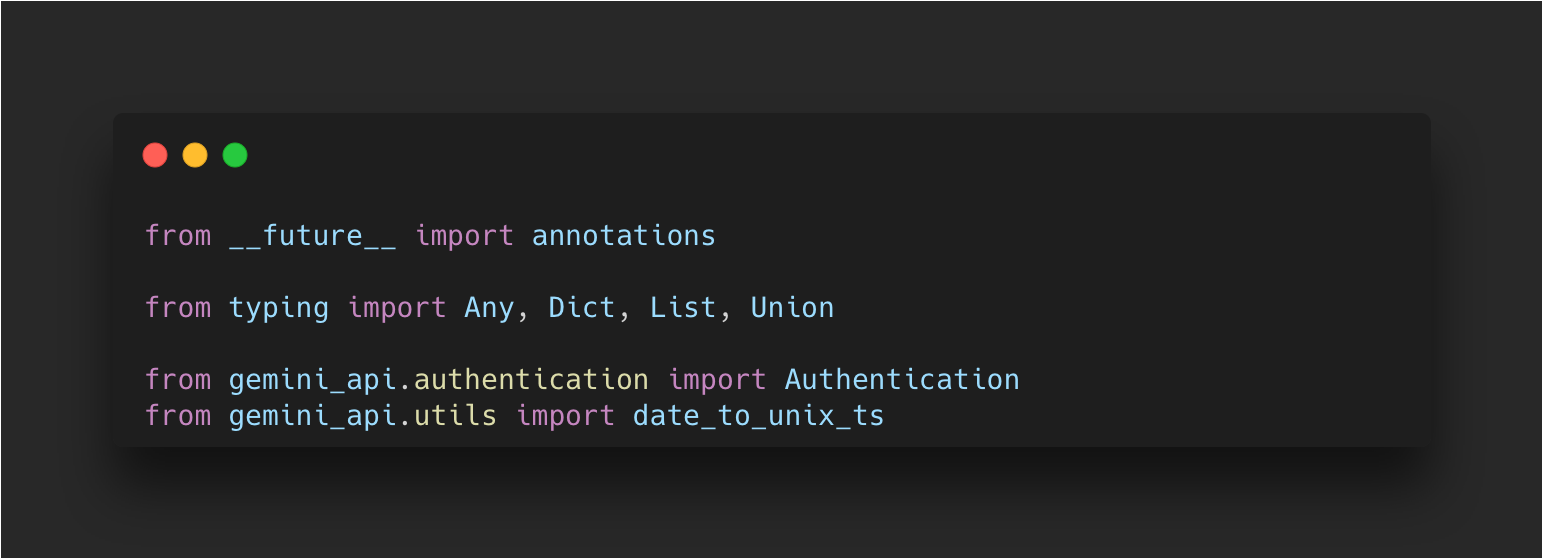
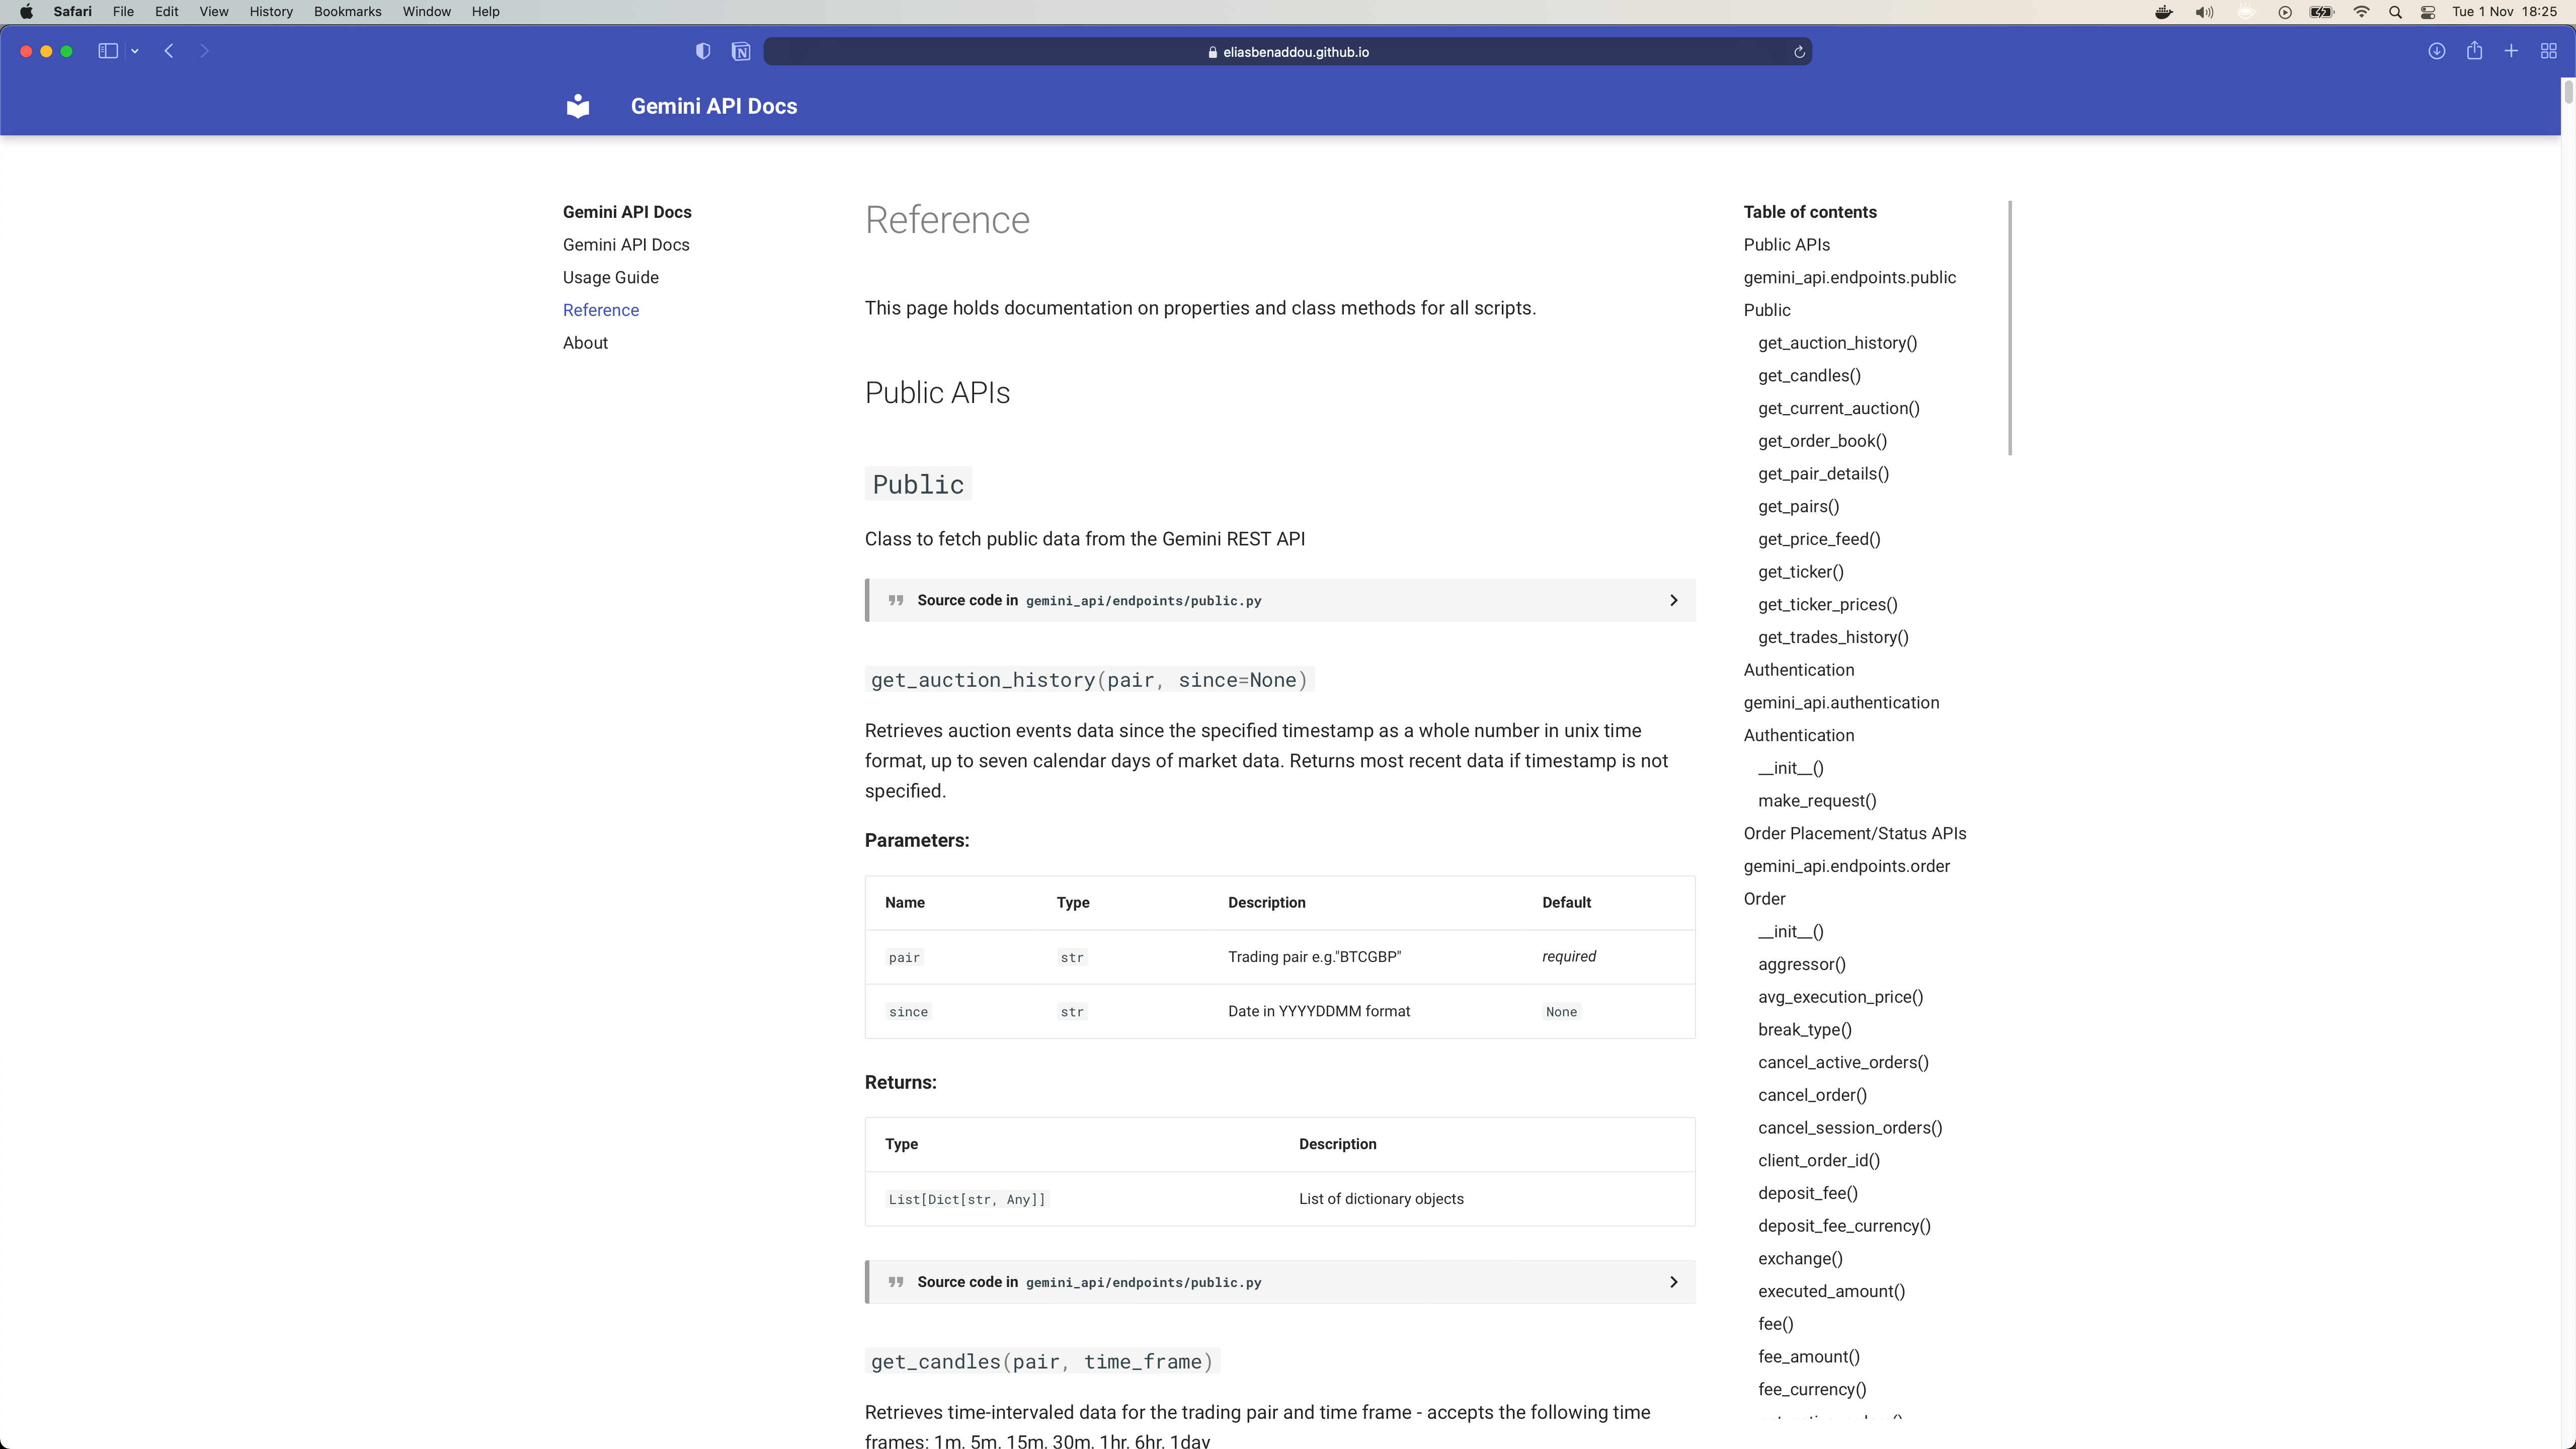
You can run it against python scripts to check it for type errors without actually executing the script. I used it throughout my codebase for the API wrapper for Gemini which makes it easier to instantly know what to expect from a function and what data types it can take in via arguments.
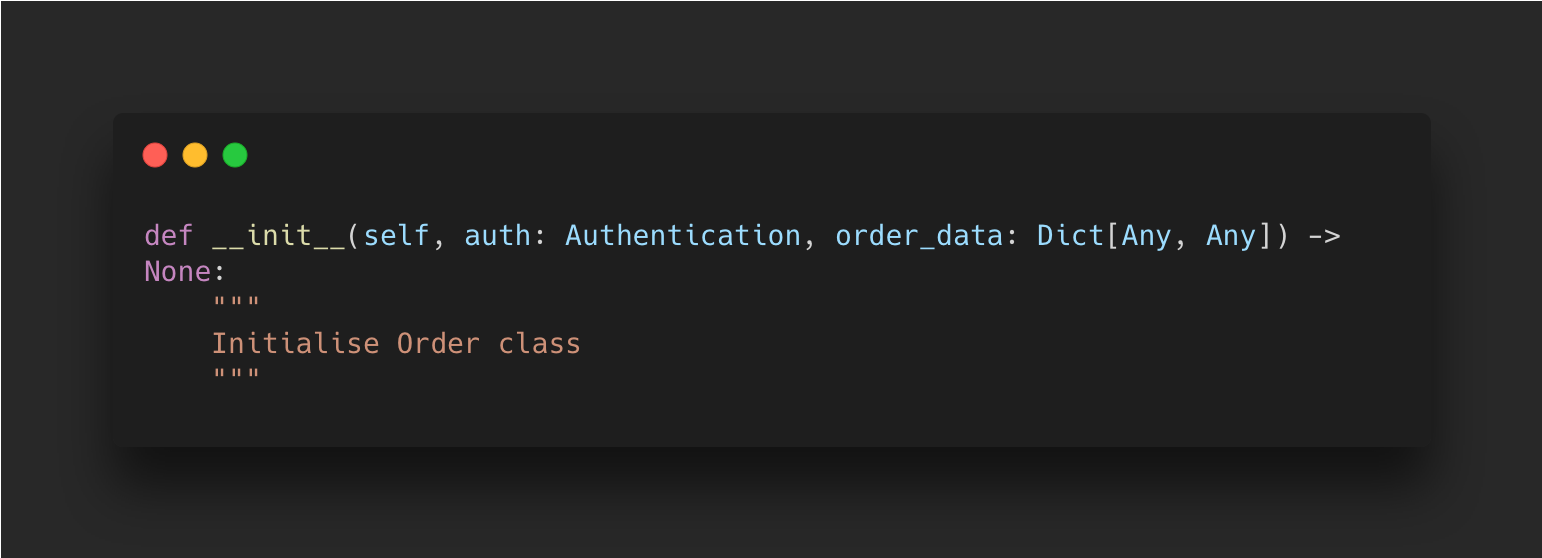
In the screenshot above it is clear that when this class is instantiated, it takes in two parameters: an ‘Authentication’ object and ‘order_data’ as a dictionary, where both keys and values can have any data type, and a None type object is returned.
For a detailed guide on type checking, I recommend looking at Real Python’s guide on the mypy project.
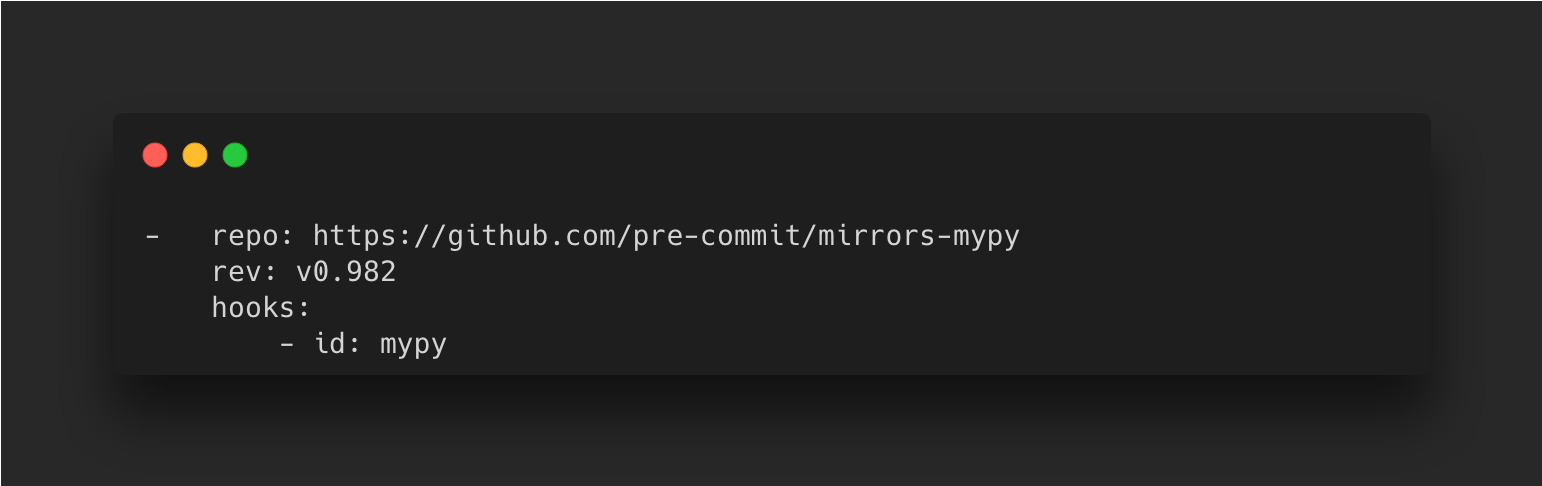
To add it to your pre-commit hooks, add the following to your .pre-commit-config.yaml file:
Code Testing – Pytest
Testing your code is a really beneficial skill to have and shouldn’t be so difficult. In the field of software engineering, Test Driven Development is a popular framework which demands tests are built first and code is tested as it is added.
One of the most popular frameworks for testing your Python code is Pytest. It’s the default framework for Poetry and is already listed as a development dependency when beginning new Poetry projects. The alternative framework which comes in the Python standard library is unittest, although the syntax is less pythonic.
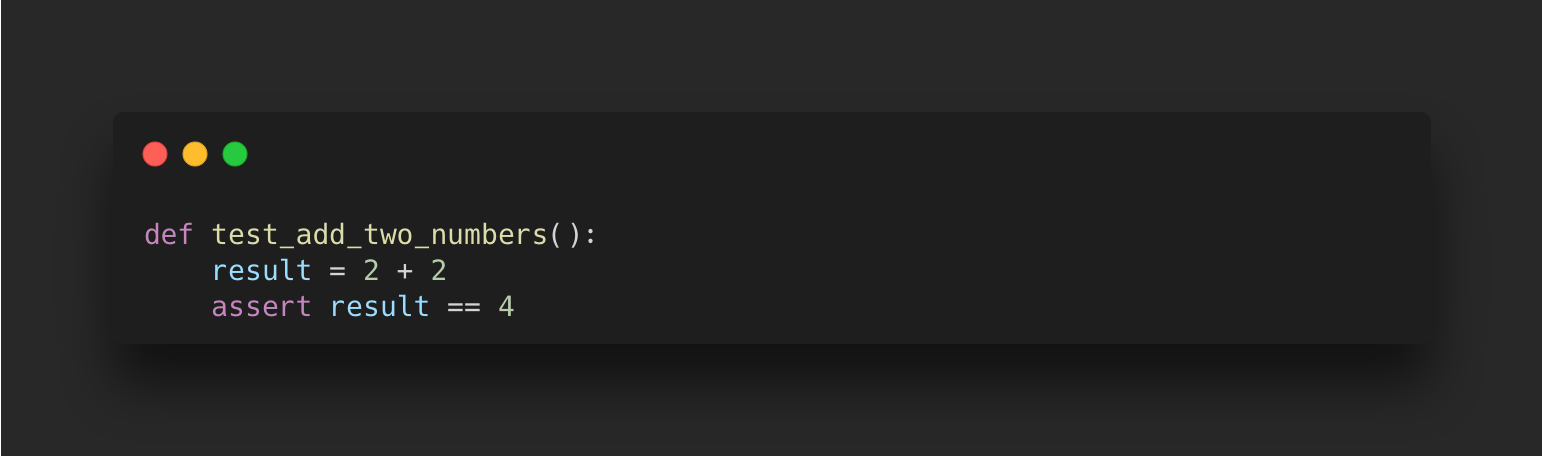
Since I use VS Code as my preferred IDE, it streamlines my testing through its built in pytest capabilities. For example, the following script tests simple arithmetic:
The test can be run manually from the command line by using Poetry as follows:
Poetry packages are initiated with a test folder and empty test file where the function above would be added to. Alternatively, using VS Code I can use the command palette and select the ‘Python: Configure Tests’ option. It will give the choice of framework to use, so I select pytest. The benefit is that it automatically detects files with our tests and adds shortcut links in the script to run tests on our functions.
In addition to testing your code, you can also test its coverage using the pytest-cov plugin:

This will generate a .coverage file with statistics about your code. We’ll also add this to our .gitignore file:
Automated Documentation – MkDocs
One of my favourite tools for automating documentation particularly when writing API’s is MkDocs. It’s simple to use and generates an elegant static site and there are many themes to choose from. First install using the package manager of your choice:
MkDocs comes with a built in server to view your static documentation as you develop it and also seamlessly builds and deploys to a static site host such as Github pages.
Creating a new project requires a simple command:
You can also manually add the mkdocs.yml file alongside the docs folder with the index.md file within:
📦project..┗ 📜 mkdocs.yml
┣ 📂 docs
┗ 📜 index.md
The docs folder will hold all your documentation source files in markdown and by convention starts with the index.md file. The configuration settings is in mkdocs.yml and the following is an example taken from my Gemini API GitHub repository:
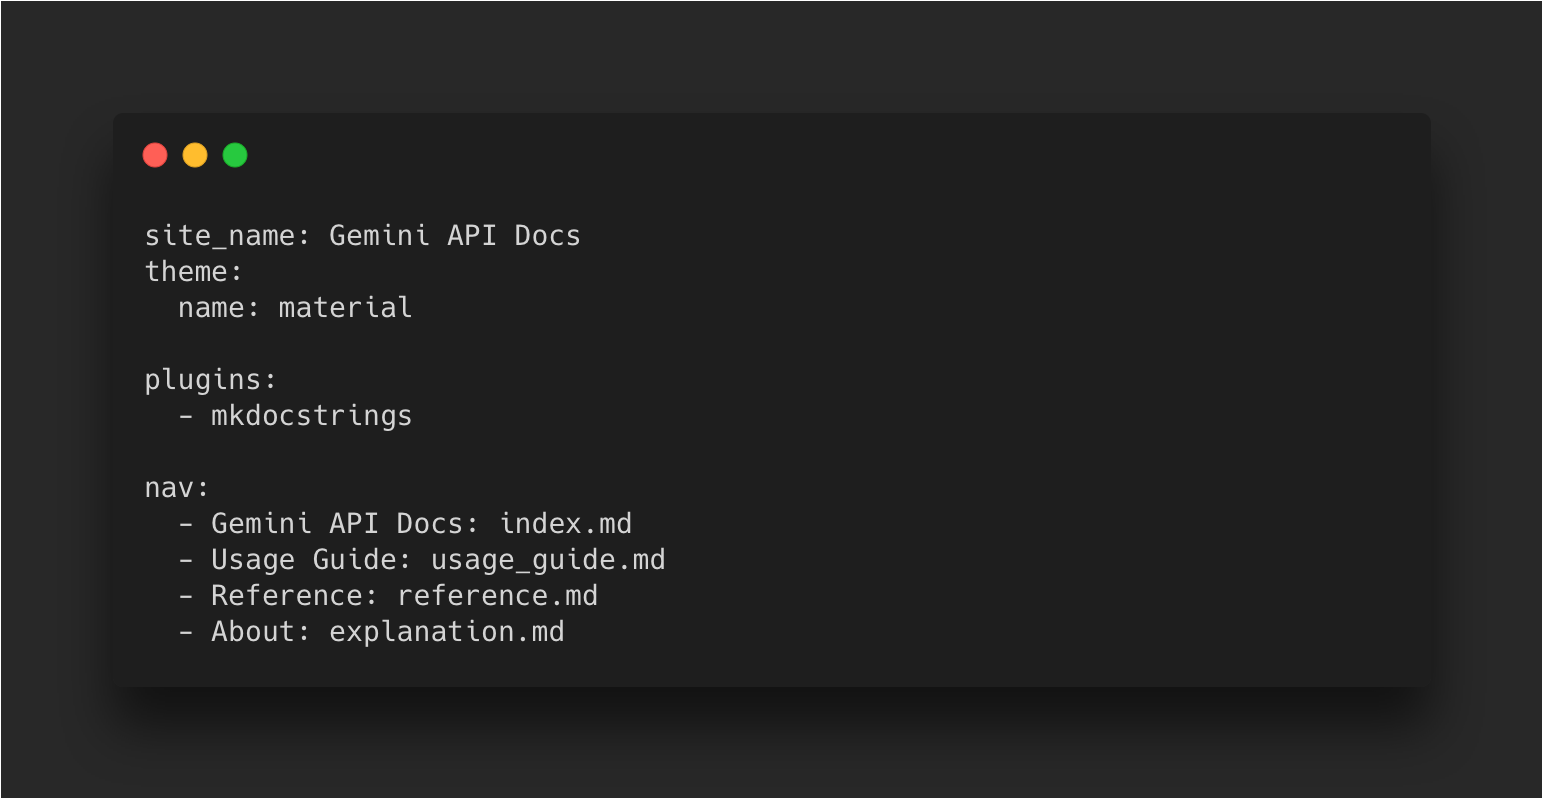
Here I have used a specific theme, included a plugin and navigation items that link to different markdown pages. These are then clickable in the navigation bar on the left.
The best part about MkDocs are the plugins available – mkdocstrings will autogenerate your code reference for you based on your docstrings in your code and extracts other information such as type hints.
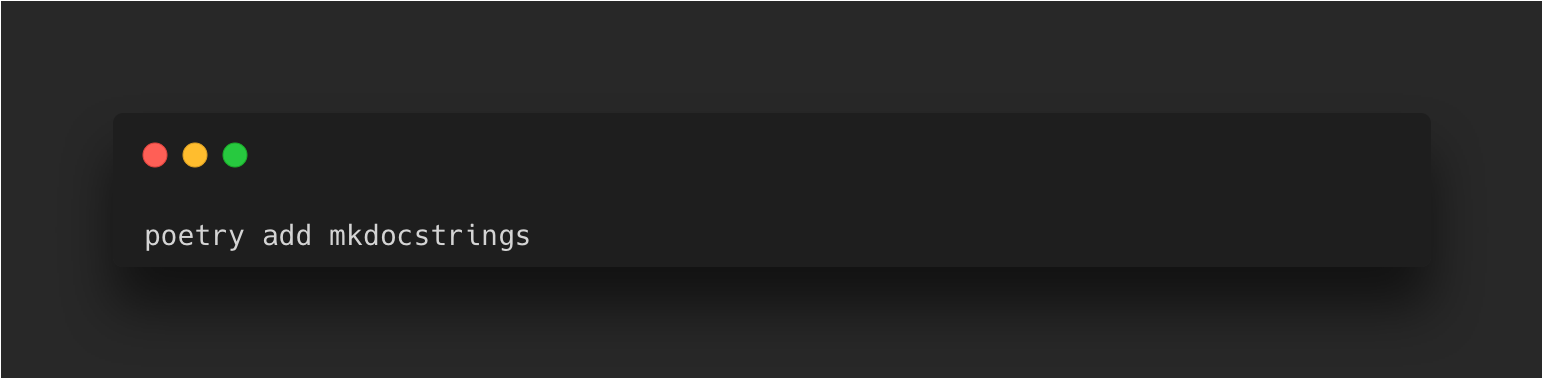
You’ll need to add this as a separate package by installing mkdocstrings using your preferred package manager:
Once you have it included in your configuration file, you need to then use the following in your markdown files to use the plugin:

where your library, module and class names are used.
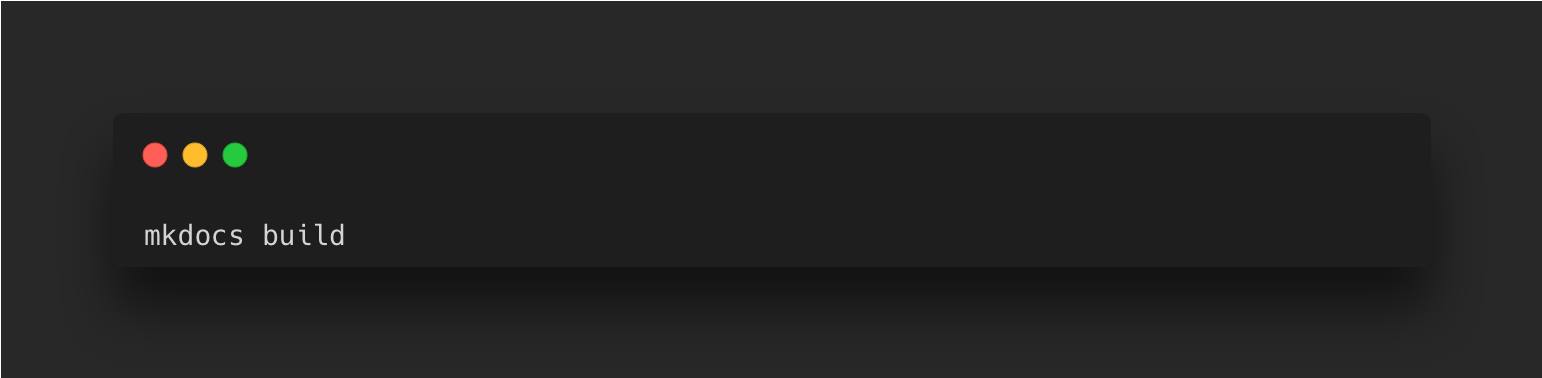
Once you’re ready to build and publish the site run:
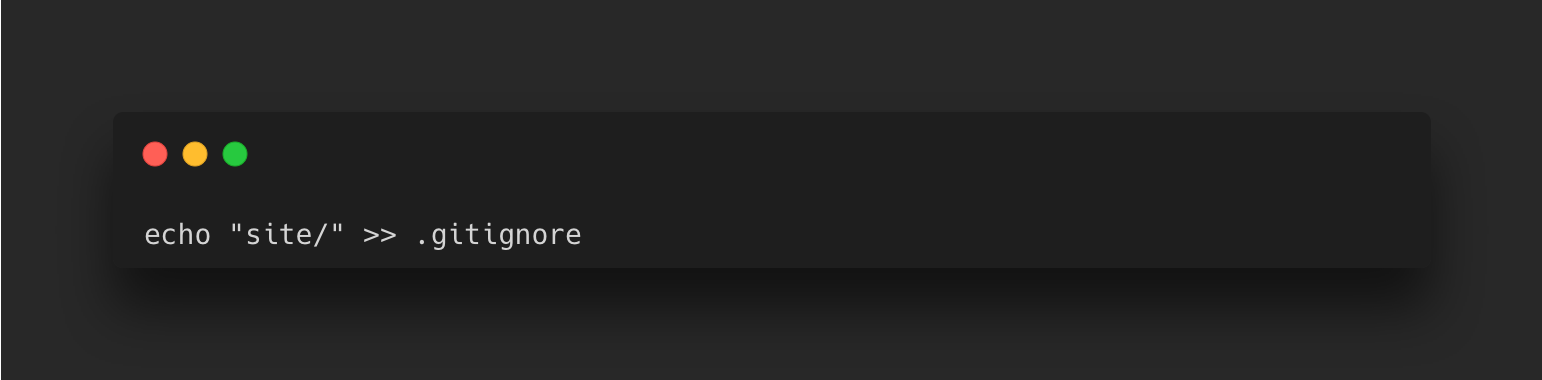
This creates a new directory called site with some generated HTML files and other files. It’s also a good idea to add this to your .gitignore file as you don’t want to git version this directory:
Github Pages is the simplest choice when it comes to deploying your site. A Project Page is an easy one to create as it only requires a single command. In the background, this will commit the site files to a branch called gh-pages in your remote repository. From the master branch run the following:

It’s pretty easy to deploy and also free for personal projects – you can also self host it you want or use an alternative platform such as Cloudflare Pages (how I deployed this blog site).
Pulling Everything Together
If you were to set up a new Python project now, below are all the commands you would need to run to set up everything mentioned in the article. Creating a new Poetry project and assigning the local directory to use a specific Python version (here we use 3.9.2):
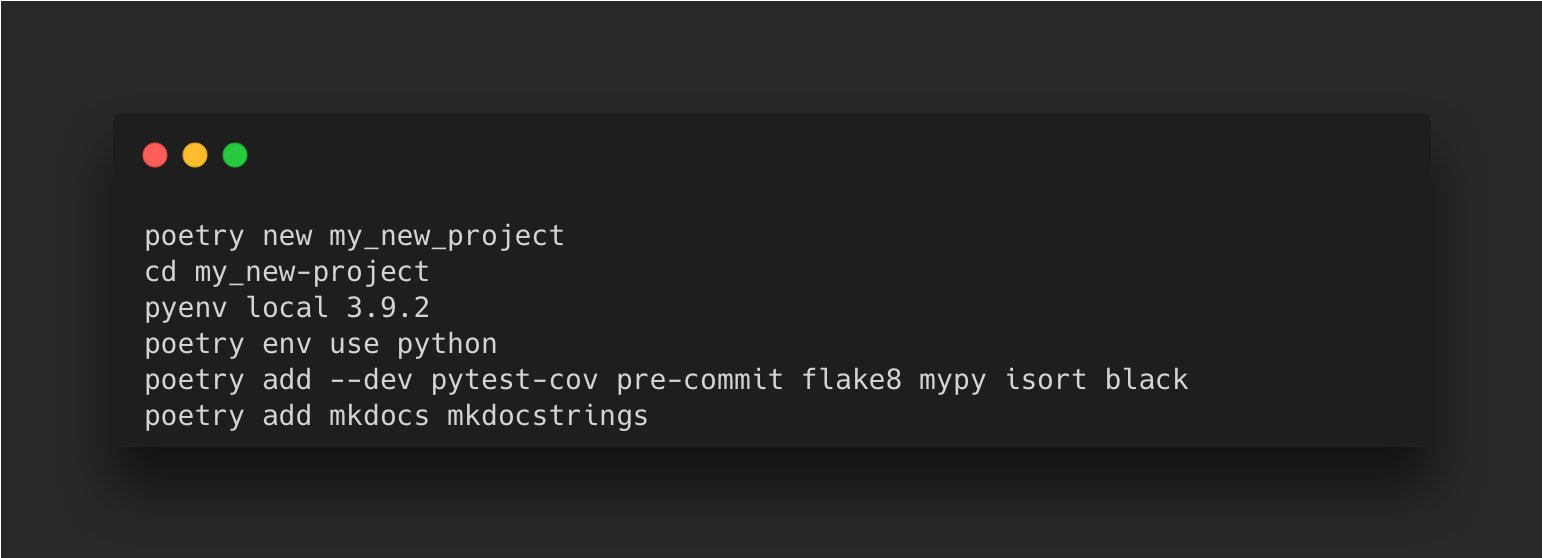
Add the configuration to pyproject.toml:

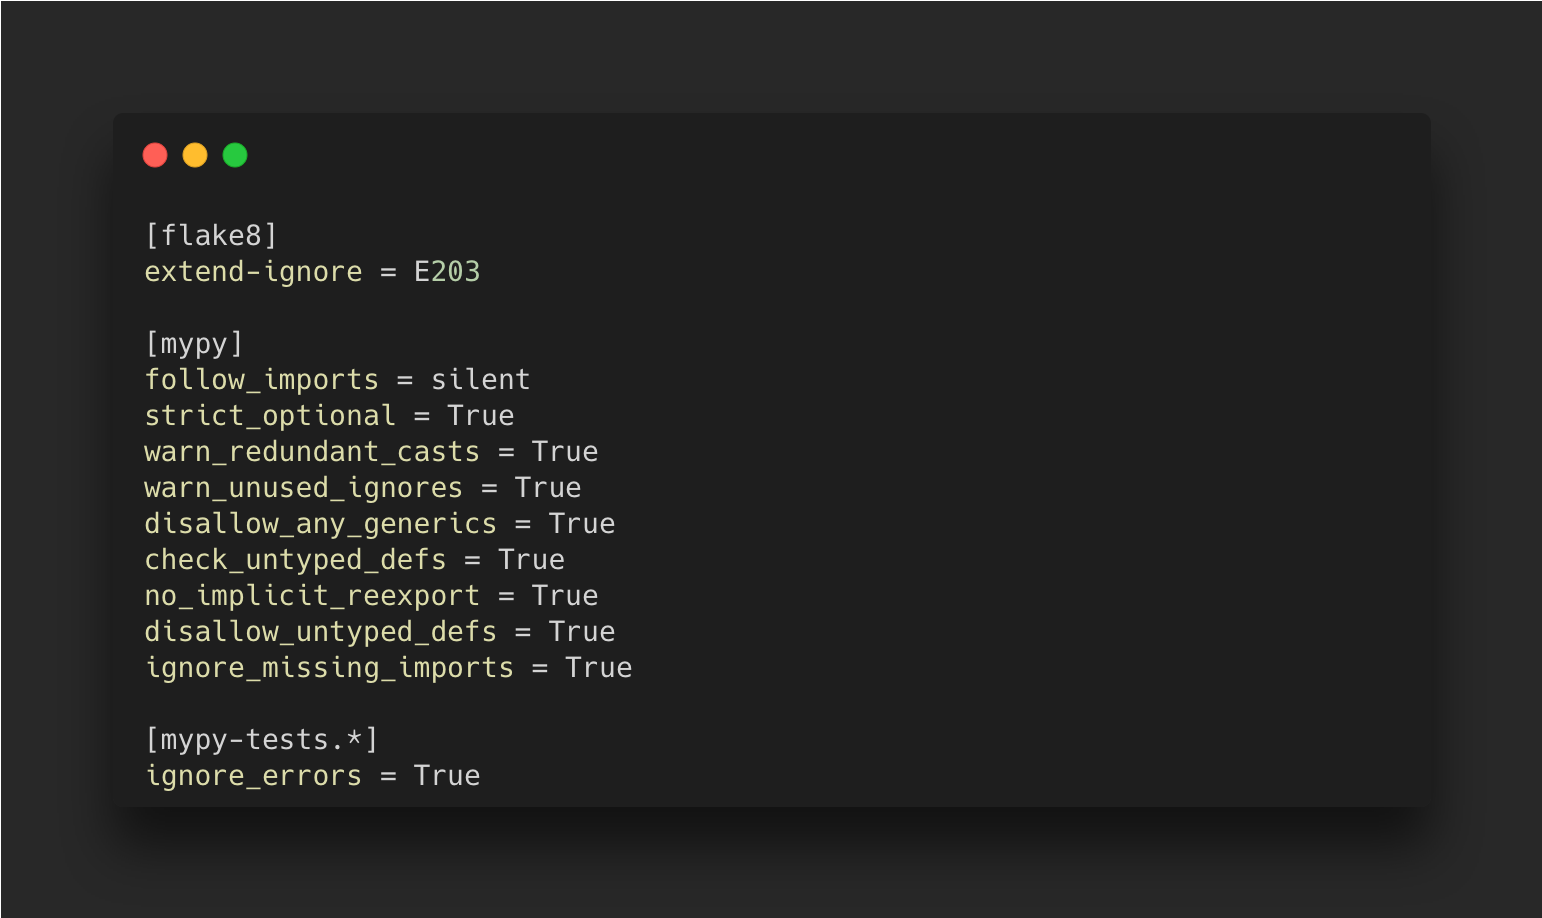
Create setup.cfg:
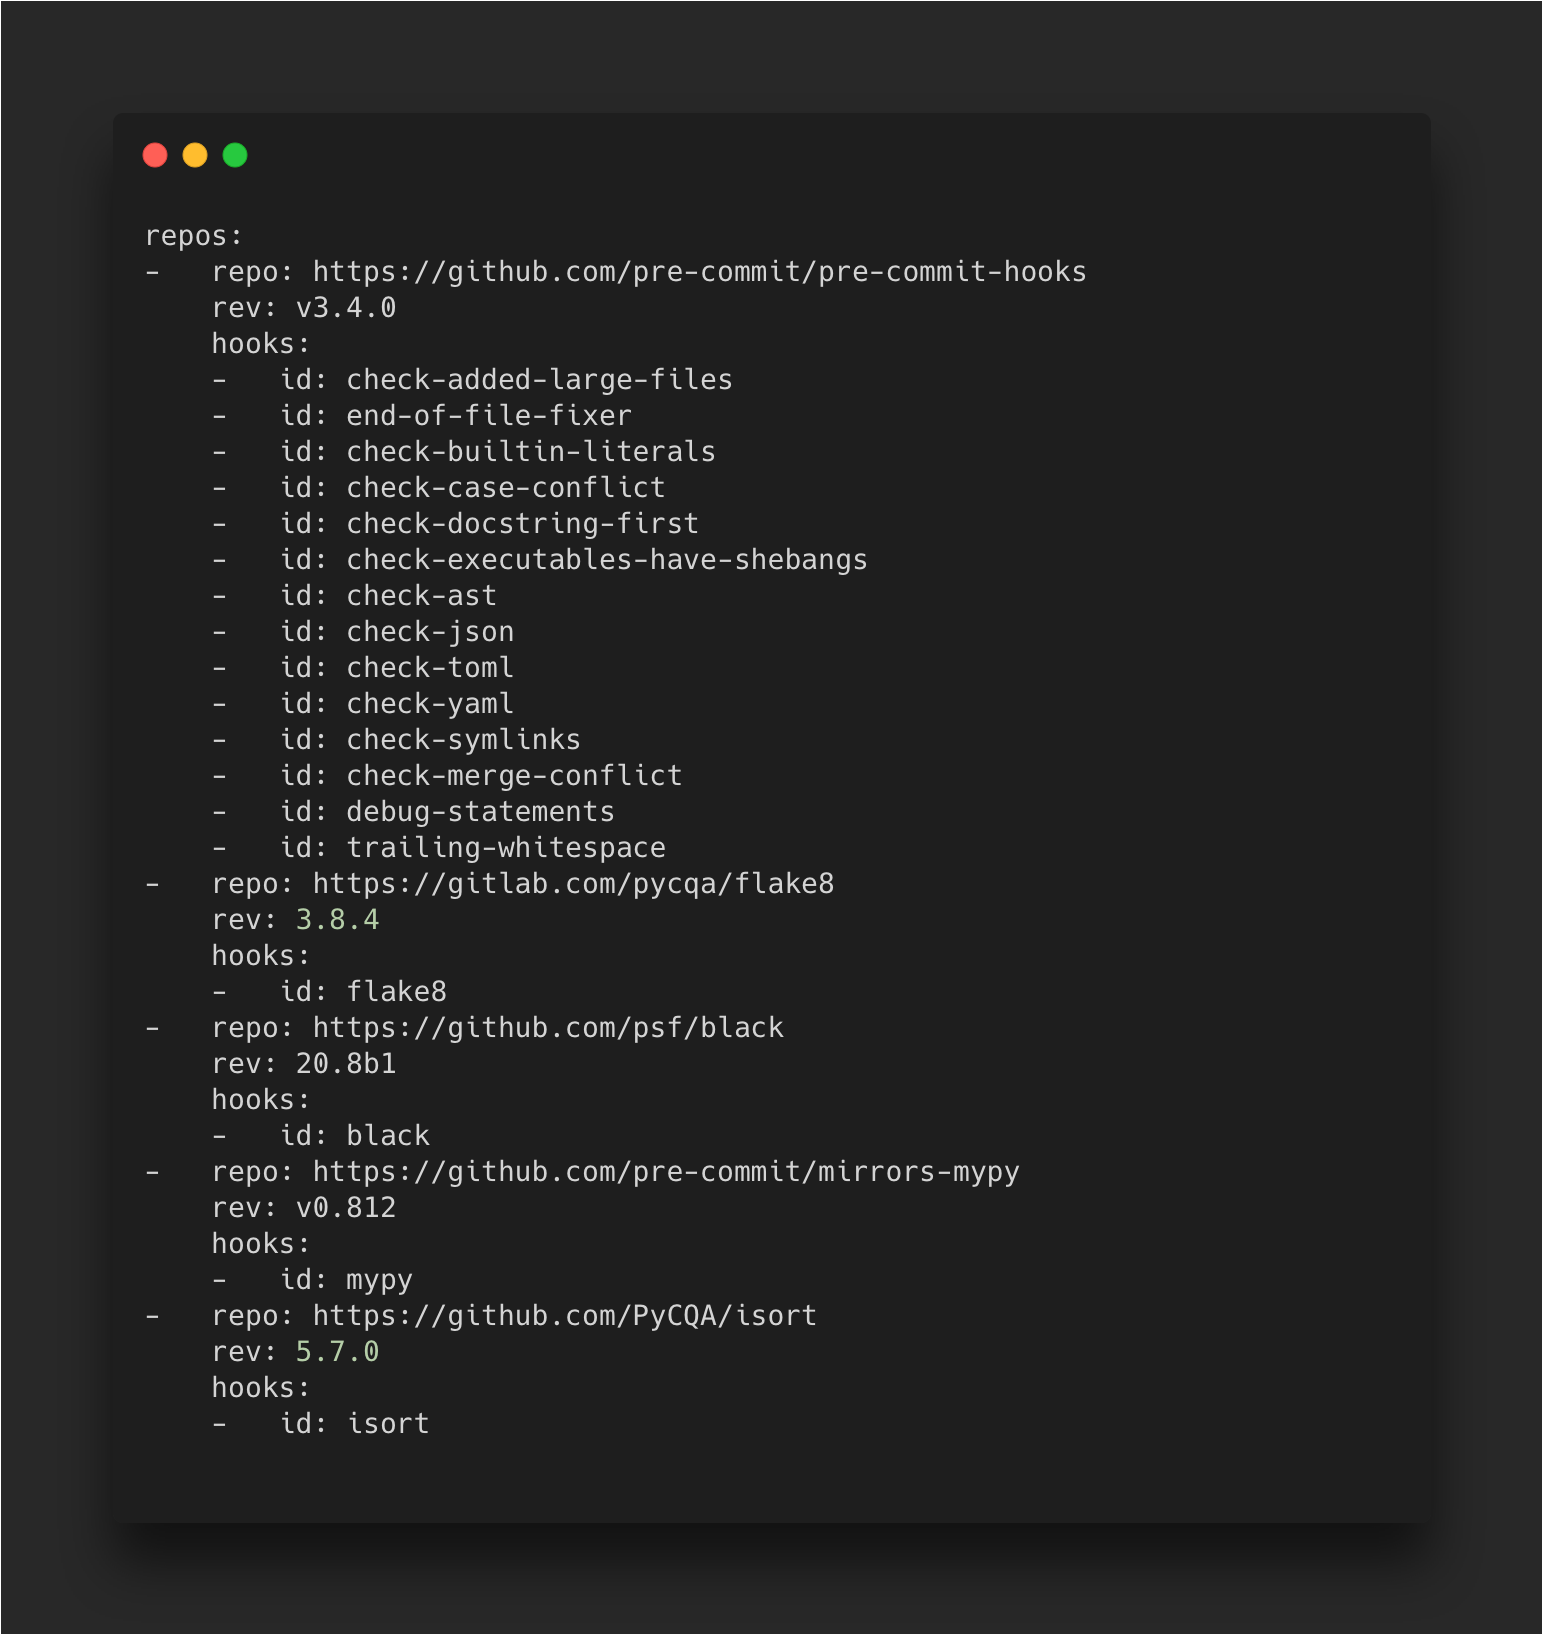
Create .pre-commit-config.yaml.
Finally you can complete the foundations of your new repository by initialising Git, setting up your .gitignore as required with the Python template from GitHub and configuring your pre-commit settings:

You’re now ready to work on adding some code to your repository and allowing your automation to take care of tests, formatting and documentation so you can focus on the important tasks.
Source: https://moderndataengineering.substack.com/